
Tutorials
Riveting 101...You can do it! Part 2
Posted by Ramp-O-Matic Staff on

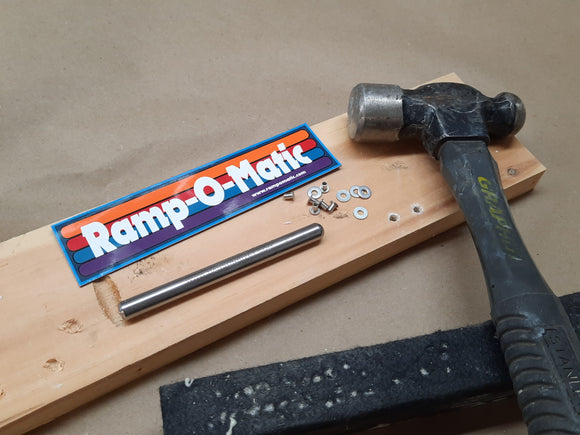
Riveting Tools So now we have the fundamentals of tubular rivets as well as how to choose the proper rivet length under our belts, new lets dig into how to go about clinching rivets into place. I have added some affiliate links to the tools I am going to discuss in this entry. As you can see, we have a wide range of budgets covered, with pros and cons to each method. The first tool is the least expensive of the bunch, the HT-174 hand rivet setter from Hanson Rivet. Pros: Cheap! Only $25, and you can get it here...
Riveting 101....you can do it!
Posted by Ramp-O-Matic Staff on

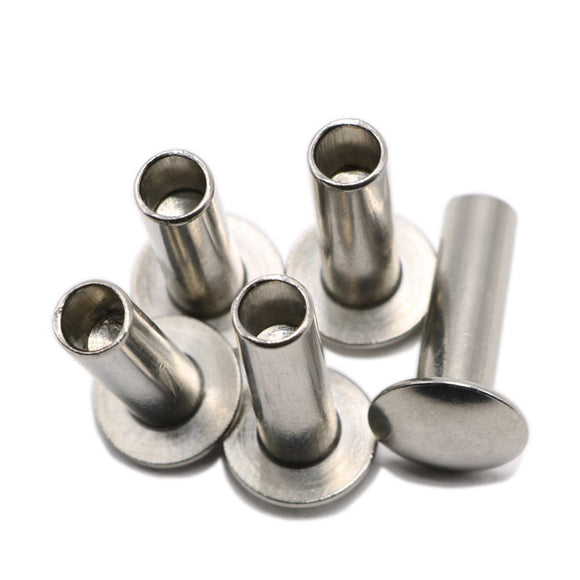
Riveting....this article will probably lean toward the literal sense of the word as opposed to the figurative version!Riveting has always been one of those pinball skills which many do not want to bother with. You need some special tools, and there is always a fear of doing damage to the nice, new parts you are trying to install. First, lets talk about rivets. What you are looking for is known as a "semi-tubular rivet". This is a solid body rivet with a smooth exposed top, and a hollow base that will be peened or rolled over to clinch it into place....
How to Reuse Decals
Posted by Ramp-O-Matic Staff on

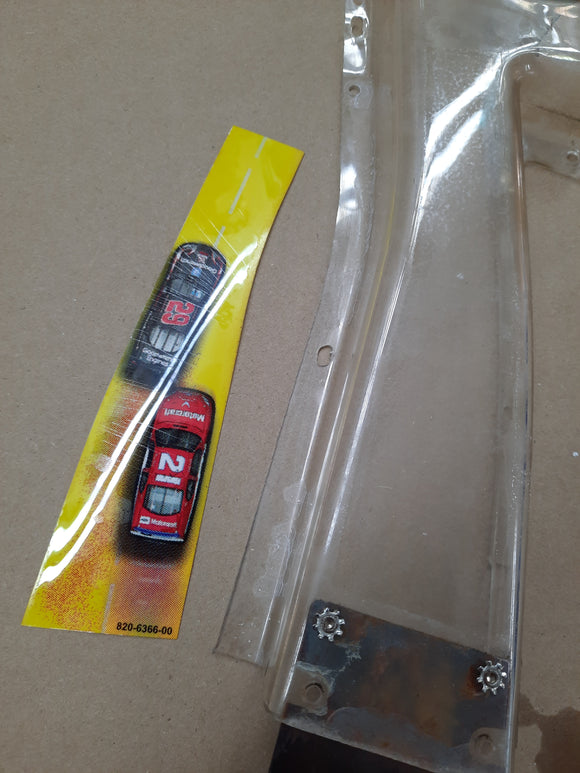
One of the main hiccups in replacing your pinball machine ramp is finding replacement decals. Most of the time, you can actually reuse your decals! Follow along to see how. Products I used for this tutorial: Here we have a Stern Nascar ramp. These Stern decals are actually much thinner than the old Bally/Williams decals, but we can still reuse them! We will use a can of canned air while inverted to freeze the glue holding the decal on. Invert the canned air, and spray the liquid all over the decal. Then use a fingernail or knife...